This post may contain affiliate links. Please read our disclosure policy.
Dirt Cake is a great no bake dessert recipe that to I love to make for my family. It is versatile and can be made for holidays like Easter and Halloween. Kids and adults both love this fun and easy to make dessert.
Have you ever made dirt cake? I love to make it for Easter and Halloween. It is so easy and fun to make!
If you have never made dirt cake, you might be wondering what I am talking about…
What is dirt cake?
It is a dessert using instant pudding mix and milk to make the base. Then you crush up chocolate sandwich cookies (like Oreo cookies) and cover the pudding with the cookie crumbs. There you have the “dirt” for the dessert.
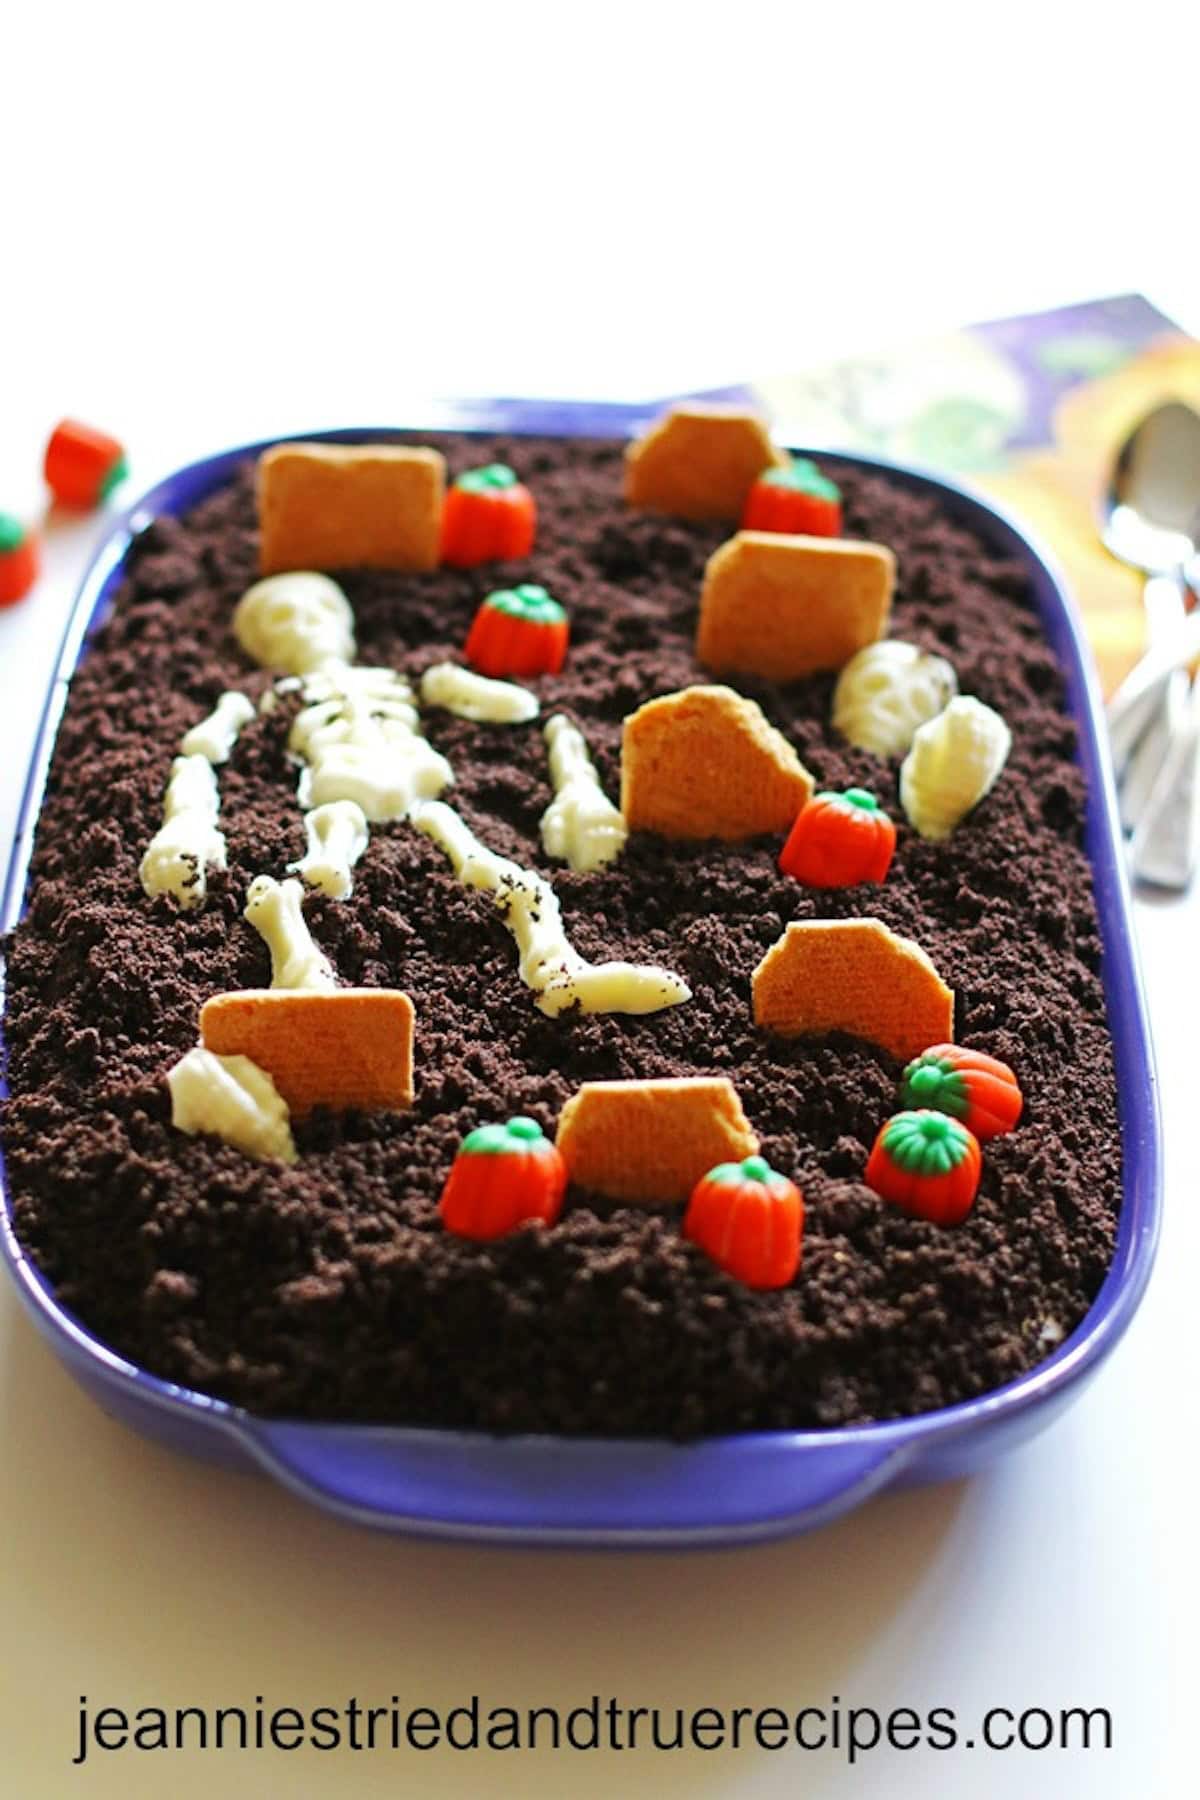
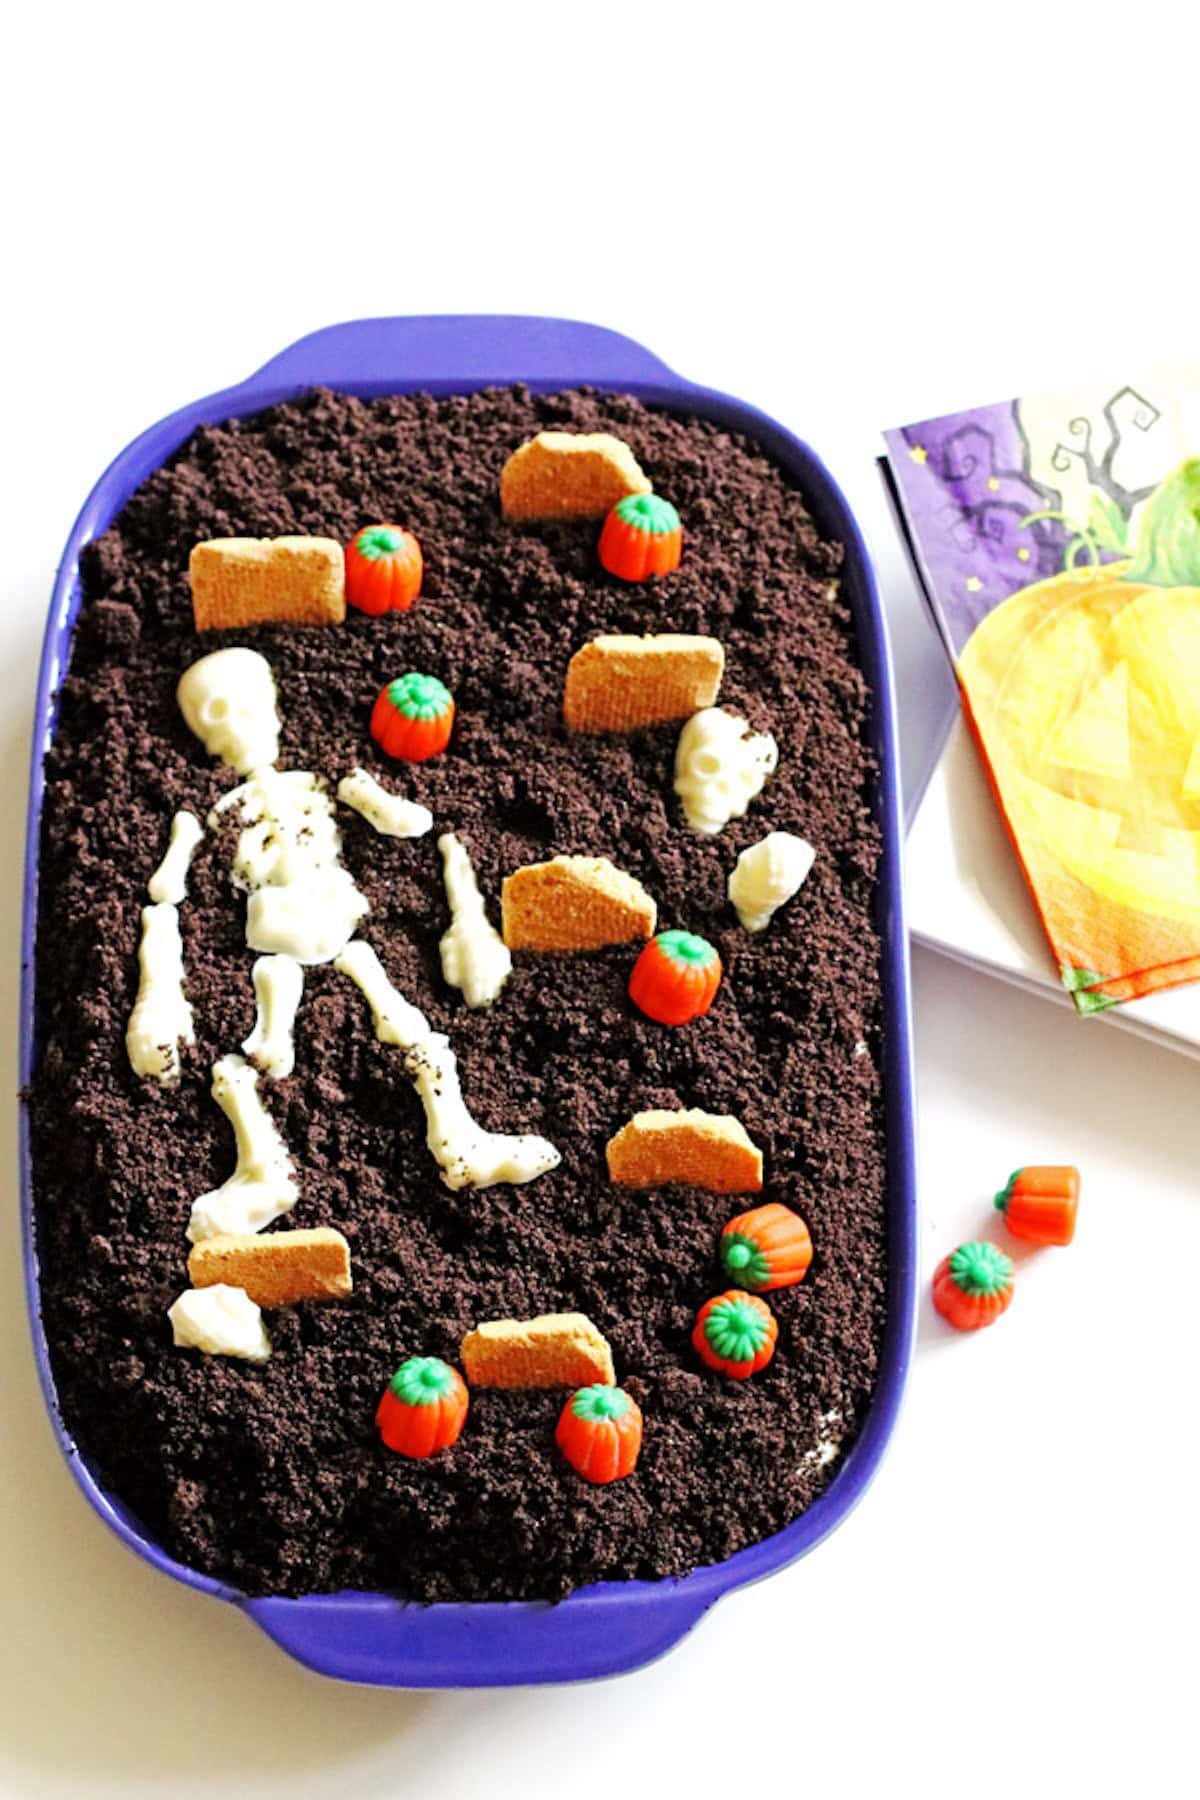
Next, you decorate it with the things you would like to see in the dirt. For Halloween, you can add in cookies as “tombstones”, candy pumpkins and skeletons to decorate the graveyard dirt cake. For Easter, you can add bunny Peeps, candy eggs and add some shredded coconut for grass.
Why this recipe works:
It is a no bake dessert.
It is kid friendly…they love this dessert!
You only need four ingredients to make the dirt cake (edible decorations are additional, depending on how many you want to add).
It is fun to make. Let your creative juices flow when decorating this dessert! Your kids can help decorate it which makes a fun family activity.
Grocery Shopping List:
- vanilla instant pudding
- milk (we use skim milk)
- Cool Whip
- chocolate sandwich cookies (Oreo’s or cookies similar to them)
- For Halloween, you will need decorations like candy pumpkins and cookies for tombstones. Also, white chocolate chips (if you are making the candy skeleton).
- For Easter, bunny Peeps, egg candy, shredded coconut and green food coloring are great for decorating.
While I share how to decorate this for Halloween and Easter, the possibilities are endless with this dessert. These are the two ways that we have made it so far.
How to make Dirt Cake:
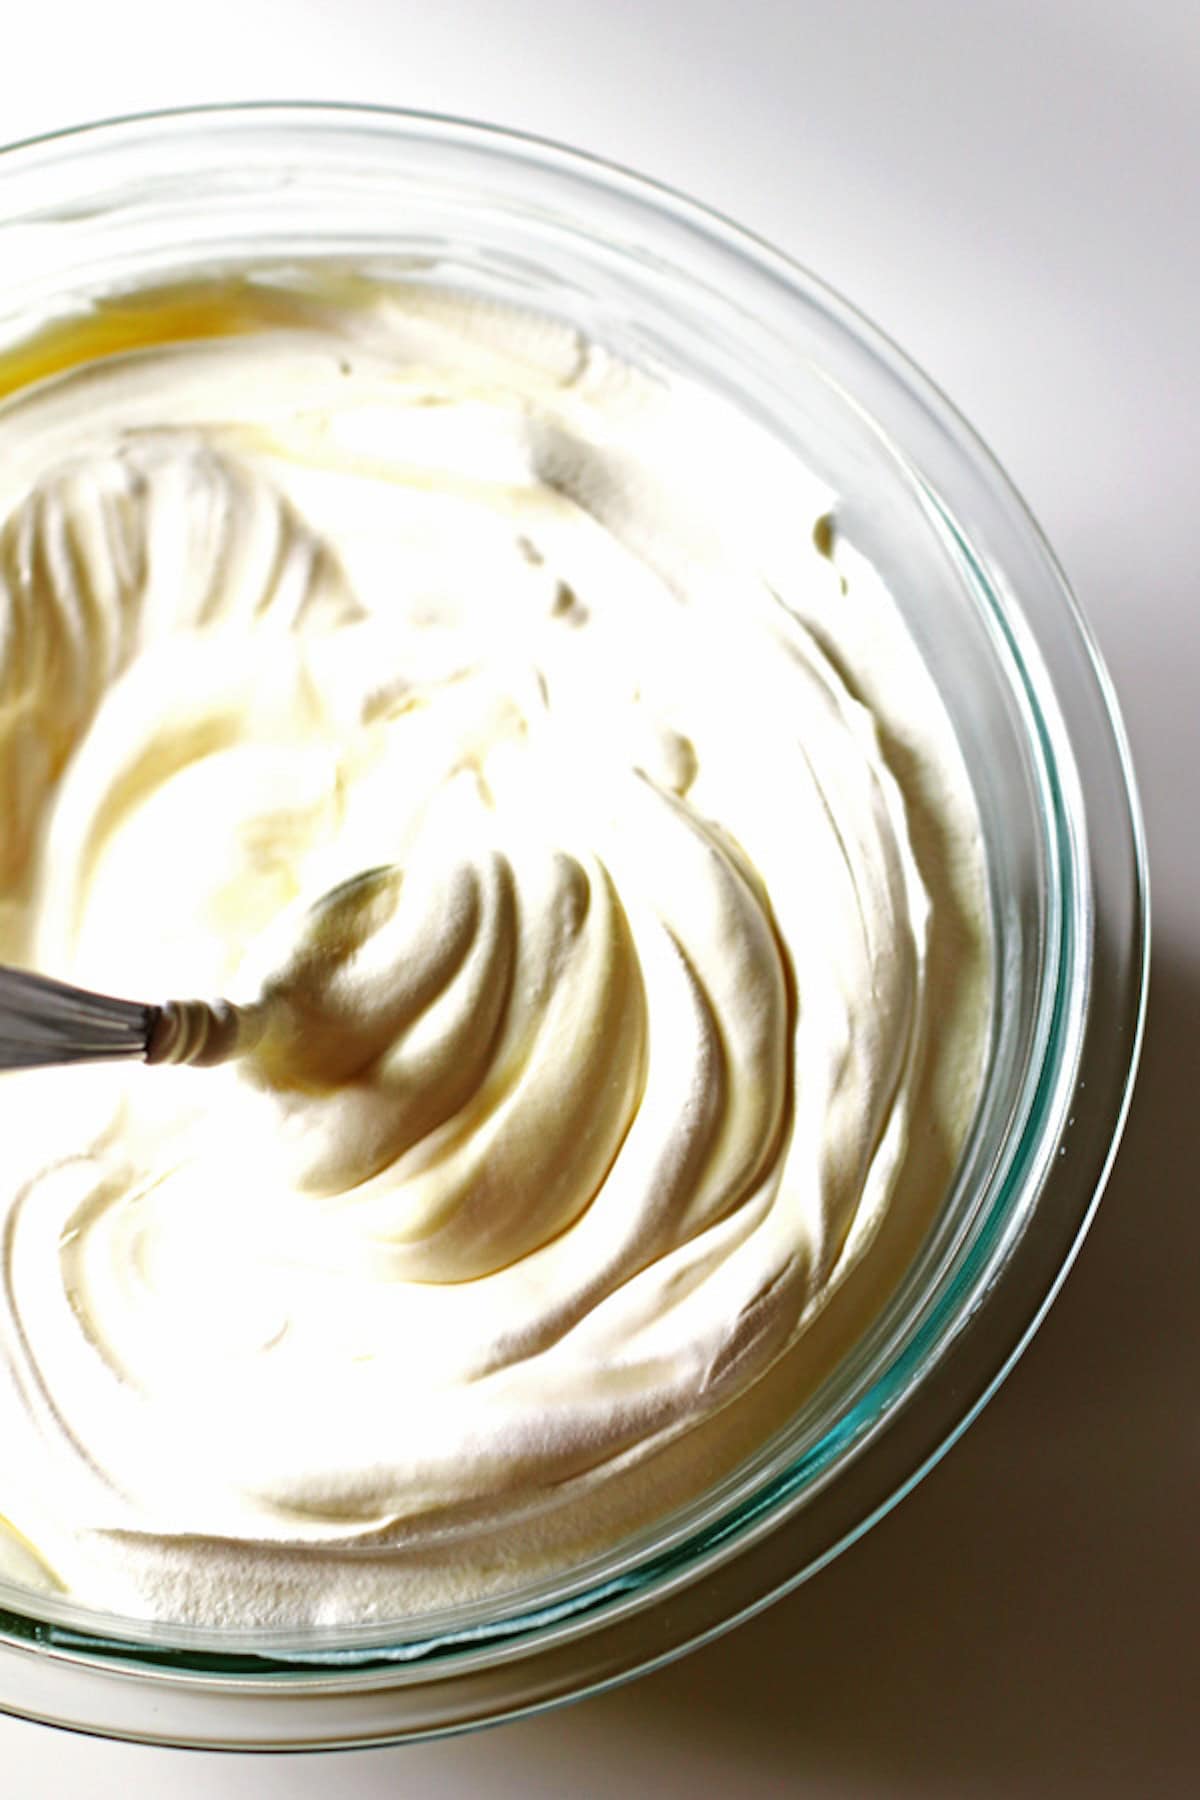
Whisk together the pudding mix and cold milk in a large bowl. Let that sit for five minutes for the pudding to set.
Then gently add in the thawed Cool Whip with a large spoon or spatula.
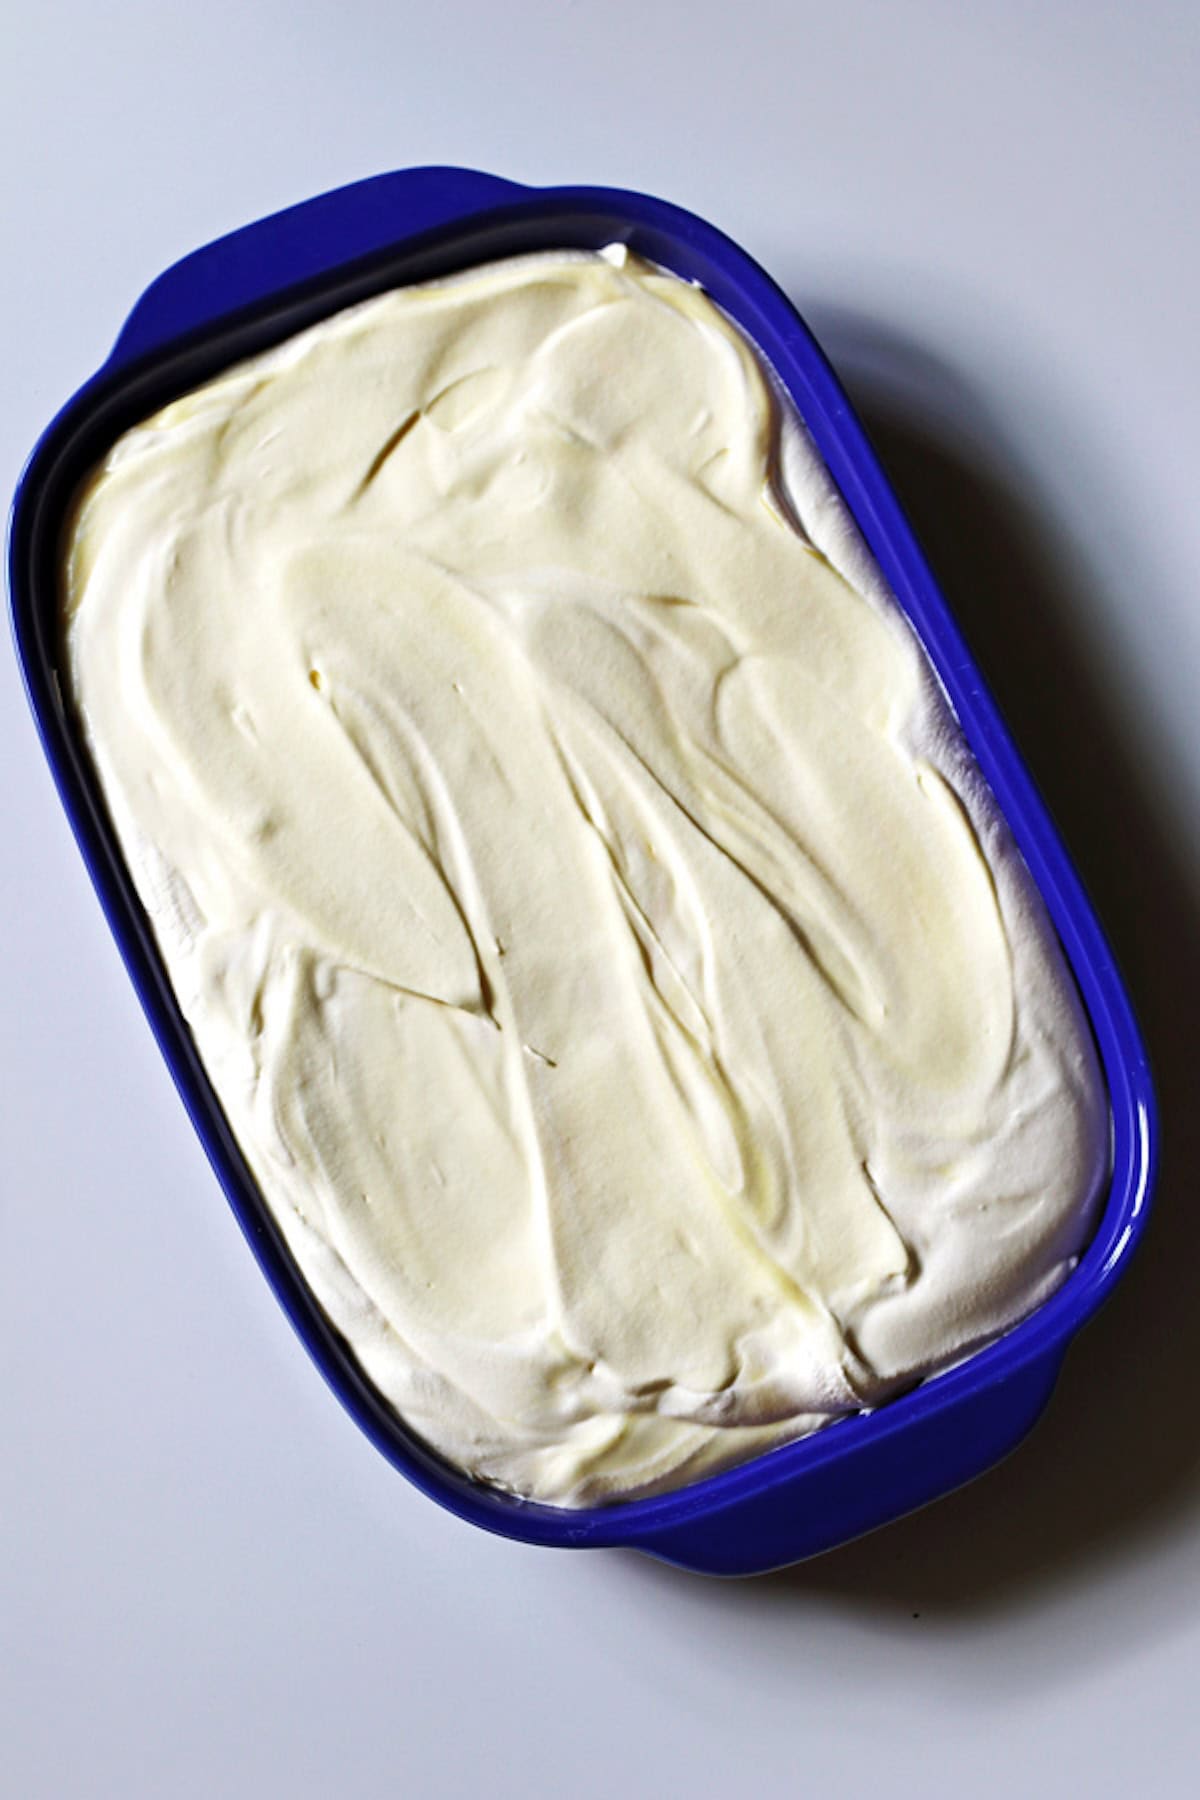
Scoop the pudding mixture into a 13 x 9 pan and spread it out evenly. (If you don’t have a 13 x 9 pan available, use a pan similar in size.)
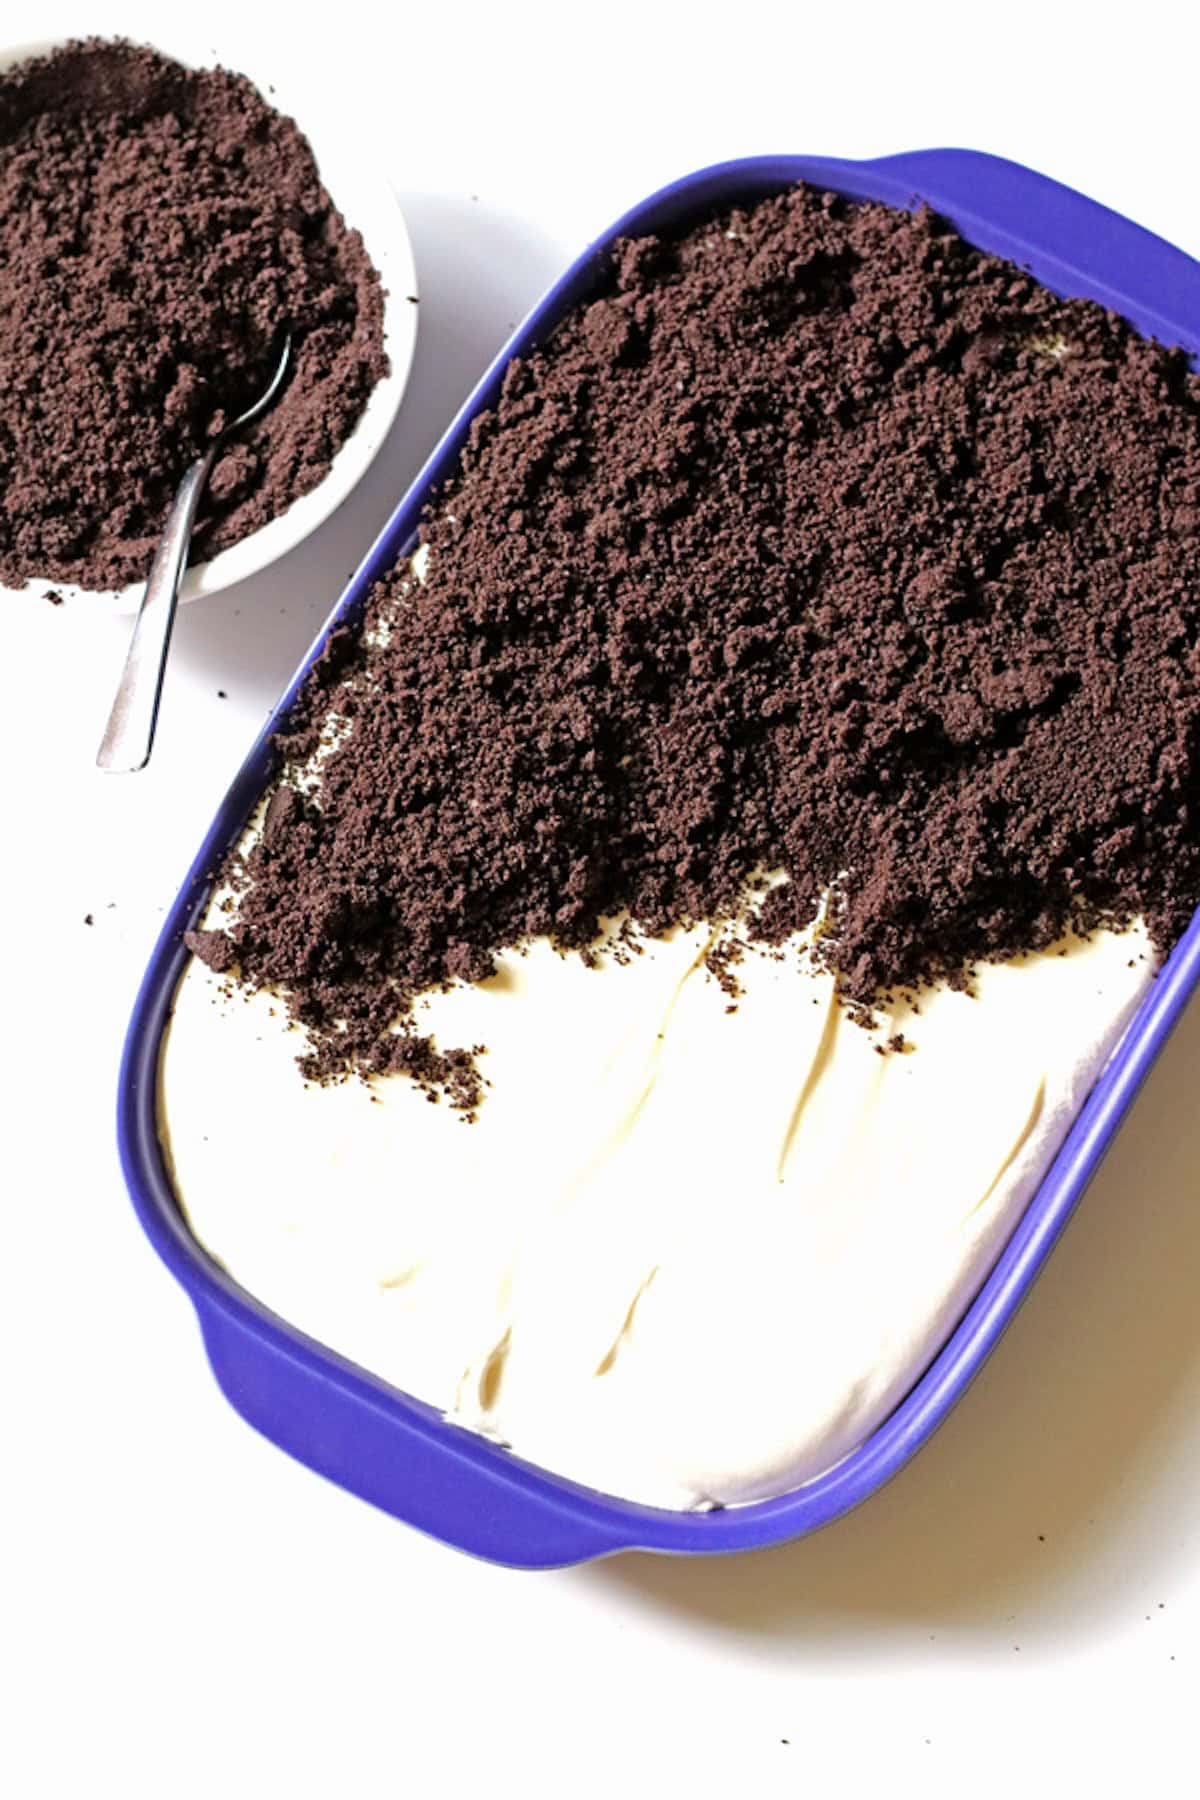
Next, crush up the cookies. To do this, I use my blender to make finely crushed cookie crumbs. I place all the cookies in the blender and pulse until I have fine crumbs that look like dirt. (This step can be done ahead of time or as the pudding sets.)
Recipe Tip: Don’t have a blender? You can also place the cookies into a large sealed Ziploc bag and roll over the cookies with a rolling pin. Flip the bag over a few times to make sure you have crushed all of the cookies.
I prefer to use my blender to crush the cookies because it gets the job done quicker. Also, it is easy to get the cookie crumbs very small using the blender.
Then, using a spoon, evenly sprinkle the crushed cookies on top of the pudding mixture in the pan to make the “dirt”.
How to decorate the cake:
The fun part of this recipe is decorating the cake. This is great for kids to help with and get them in the kitchen.
You can decorate the cake right away and keep it in the refrigerator until you are ready to serve it or decorate it later just before serving the dirt cake.
Decorating it for Halloween:
Let’s talk first about making it for Halloween. This recipe is a reader favorite during Halloween season.
To make the skeleton:
I used a Halloween themed candy mold to make a skeleton to place on top. To make the skeleton, I use white chocolate chips.
How to melt the white chocolate chips:
Melt white chocolate chips in the microwave (I use about a half cup of white chocolate chips for my candy mold).
Place the white chocolate chips in a microwave safe dish. Heat them for 30 seconds and stir. If they are not completely melted, do an additional 15 seconds until they are completely melted (stirring after each 15 seconds).
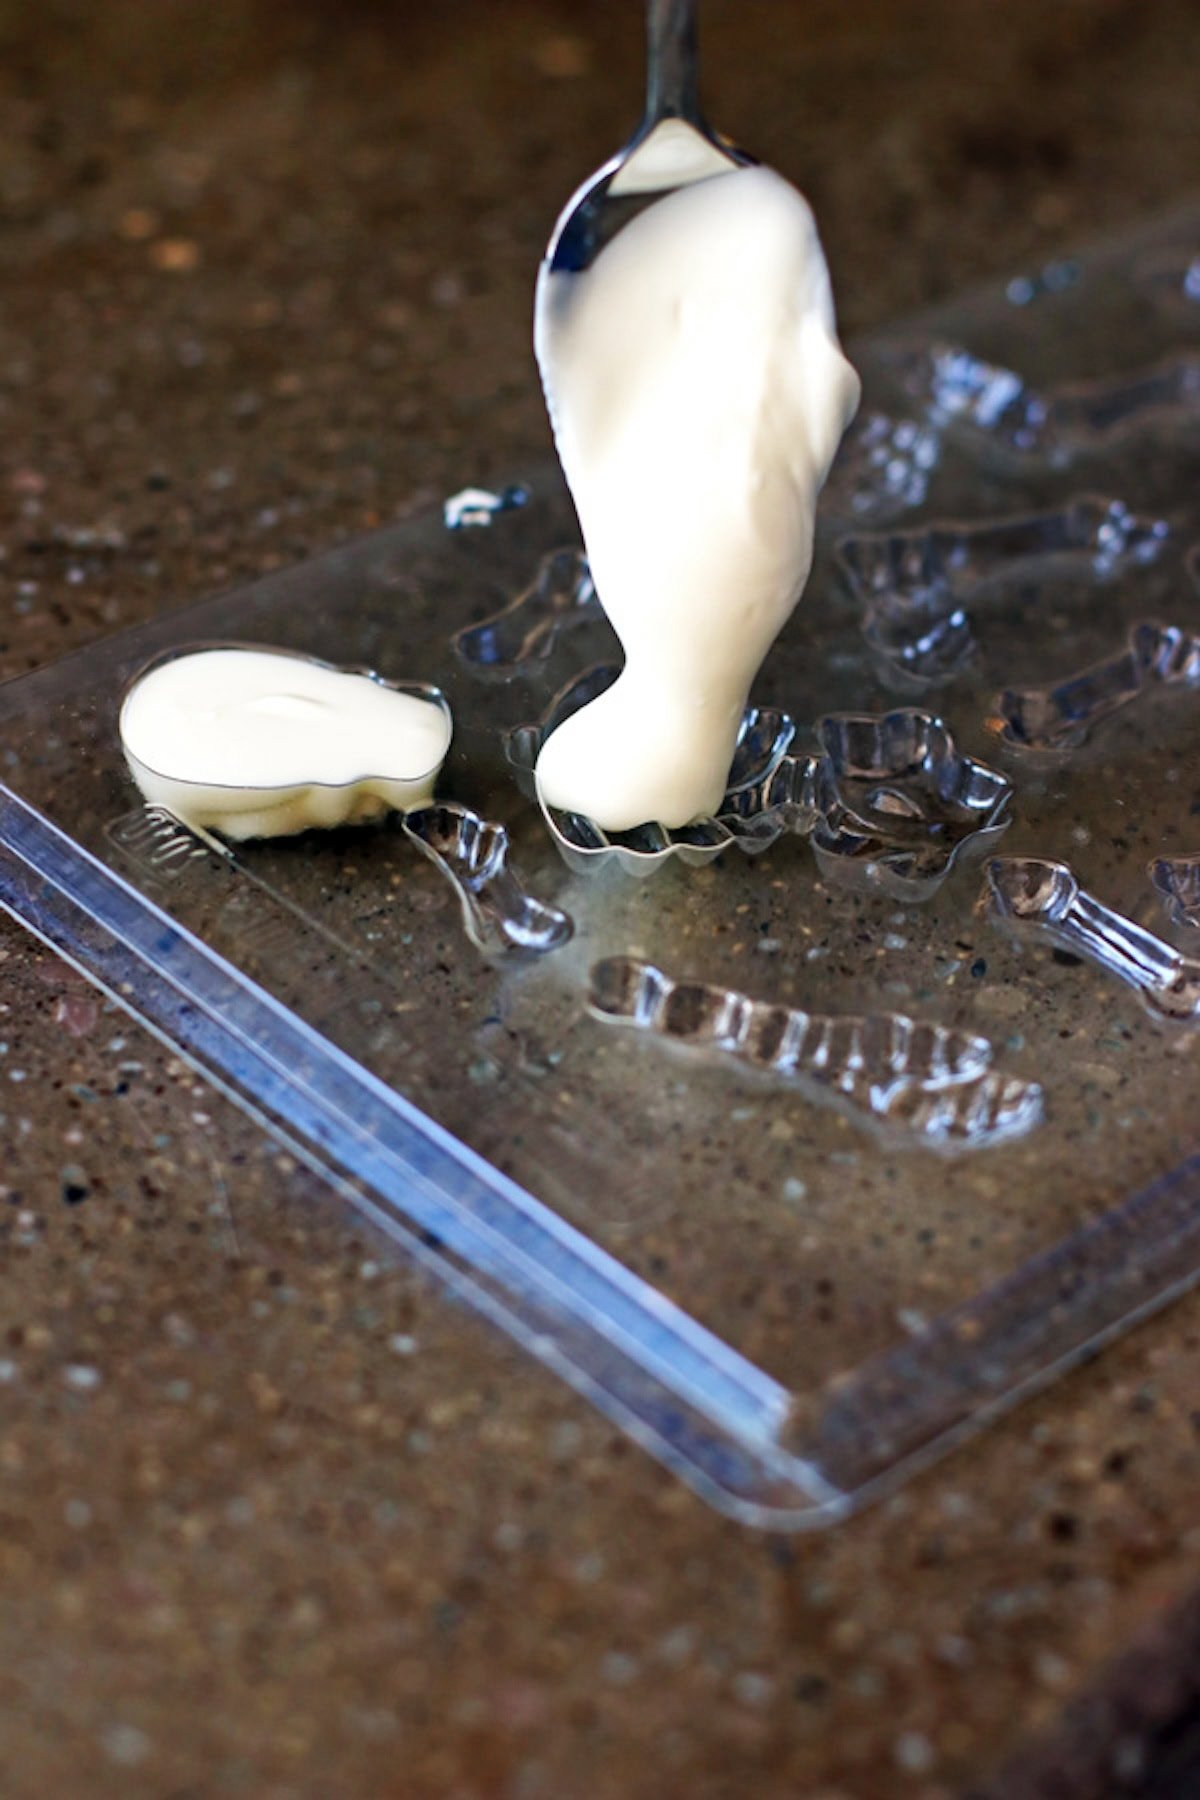
Then using a spoon, fill in each area of the candy mold with the melted white chocolate and place the mold in the refrigerator to set. Wipe off any excess white chocolate from the edges of the mold with a paper towel.
The candy is set in about 30 minutes. Once the candy is set, it should easily pop out of the mold.
To get the candy out of the mold, flip it upside down while holding it over your kitchen counter or table. Hold the candy mold close to the counter or table so the candy pieces will land carefully and do not break.
You may have to bend the mold slightly or tap it gently to remove the candy pieces. Sometimes the candy pieces need a little help getting out. If it doesn’t come out after trying, place the candy mold back in your refrigerator for a little longer (about 20-30 minutes).
Then gently place the skeleton pieces onto the cake. You can put them all together to make a full body skeleton or separate the skeleton “bones”. Have fun with it!
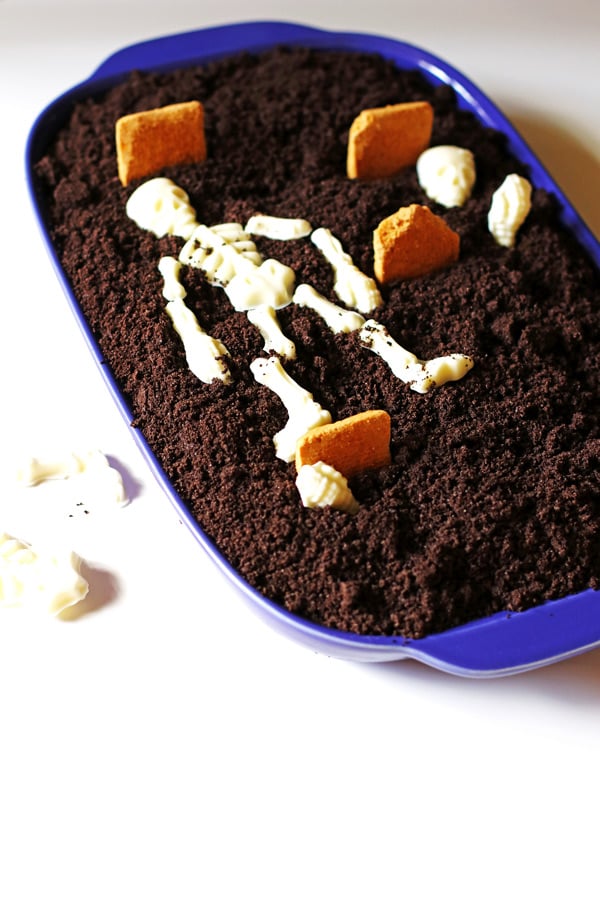
Decorating Tip: Want to give your dirt cake a scarier look? Have the skeleton pieces half in the dirt and half on top so it looks like it is coming out of the ground. You can also sprinkle a little bit of cookie crumbs over the skeleton to give it a scarier look.
To make the tombstones:
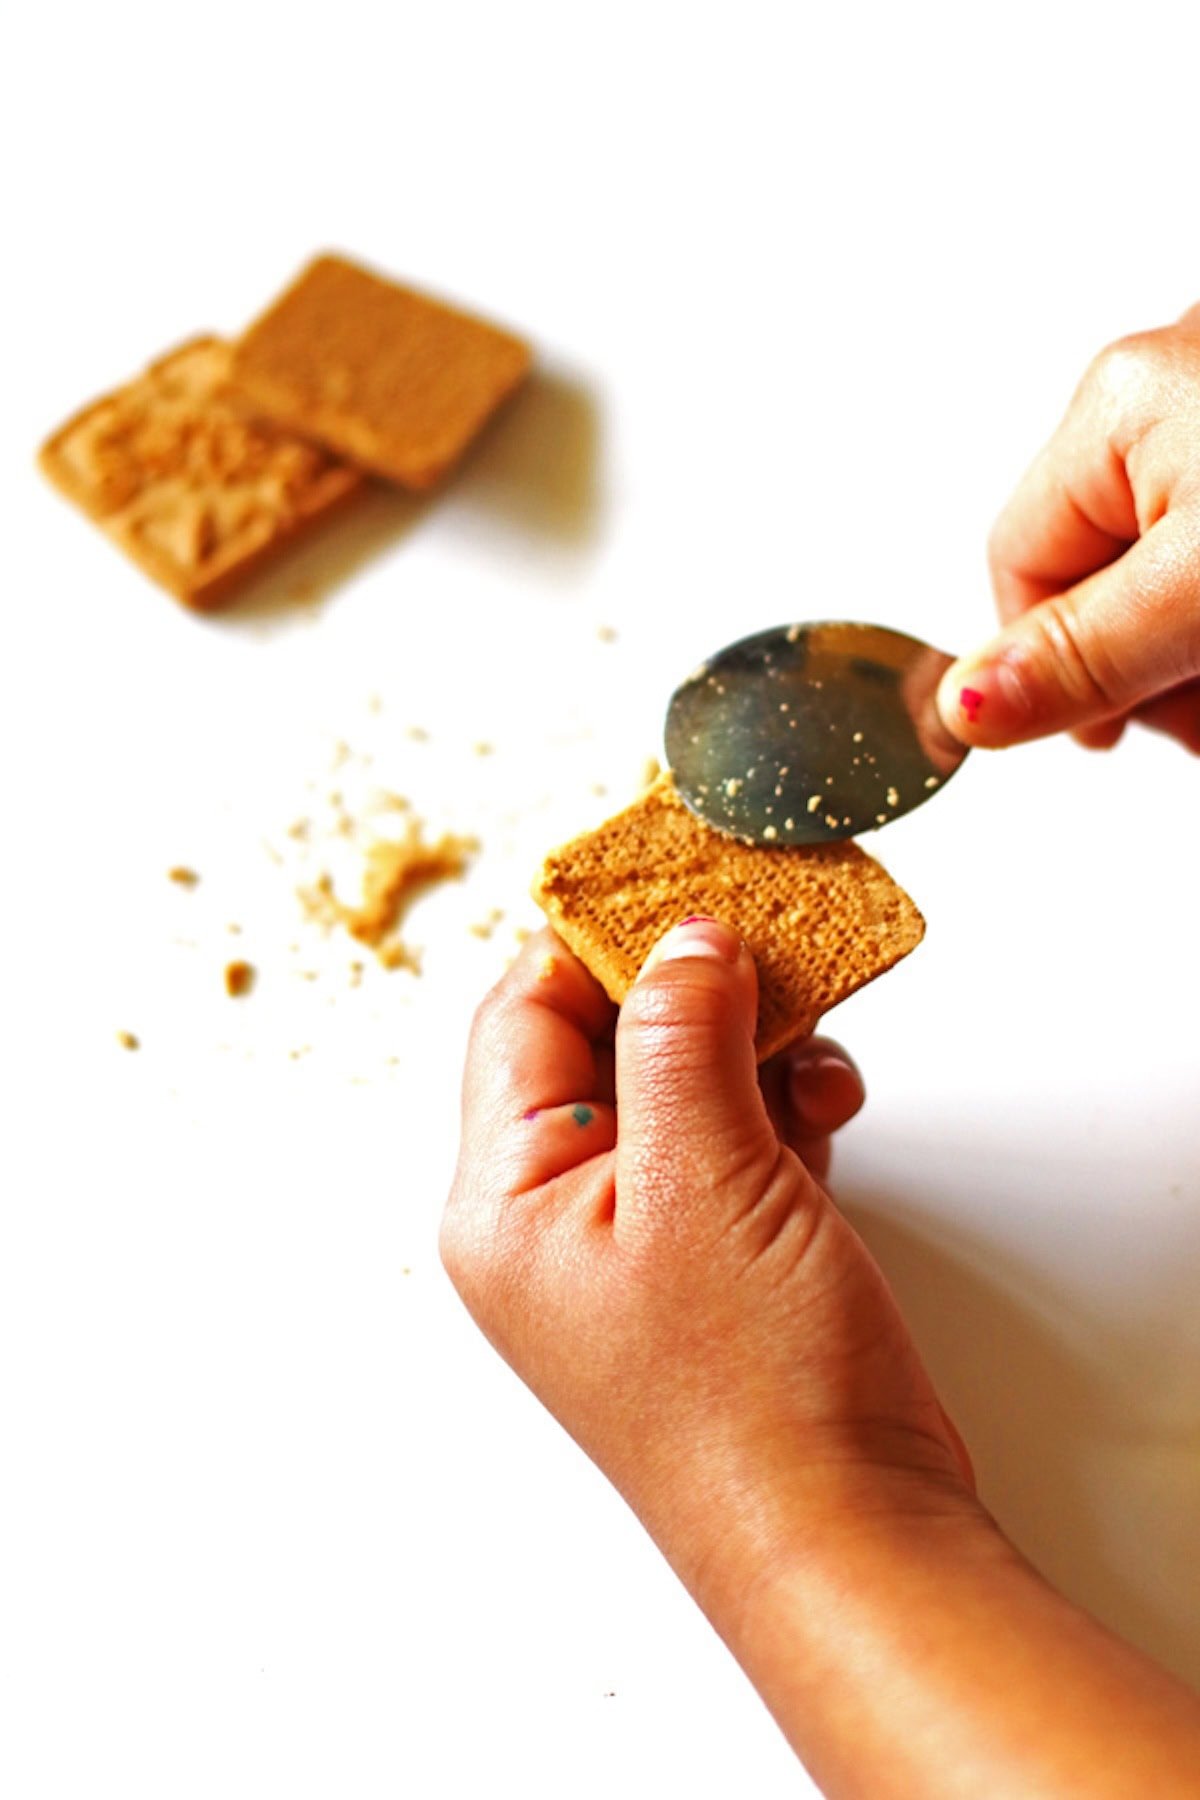
I use rectangular or square shaped cookies for the tombstones. A cookie like Vienna Fingers works great too. Use whichever cookies you can find at the store.
Break off a little of the corners of each cookie and scrape the edges with a spoon a little to give them an old tombstone look. This is a good job to give your kids.
Finally, add some candy pumpkins or other edible decorations to make it look festive for Halloween. This part is also great for kids to help out with.
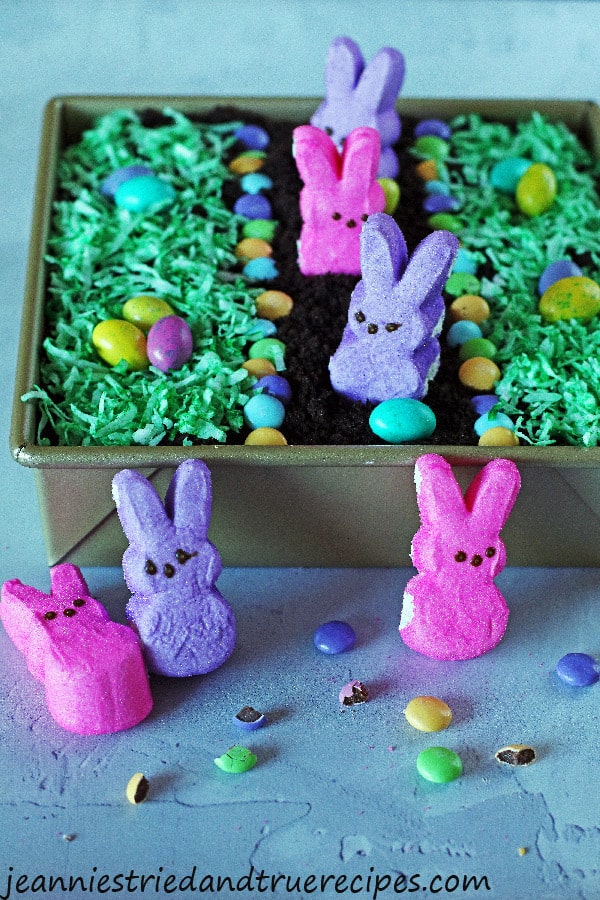
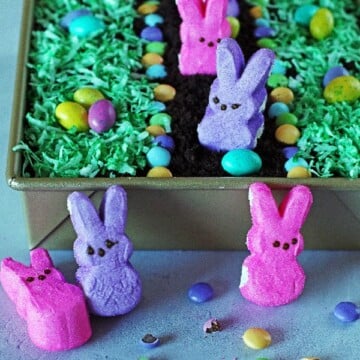
Decorating it for Easter:
Making this for Easter is fun and easy to do. It makes an adorable Easter dessert! You can have it decorated in thirty minutes.
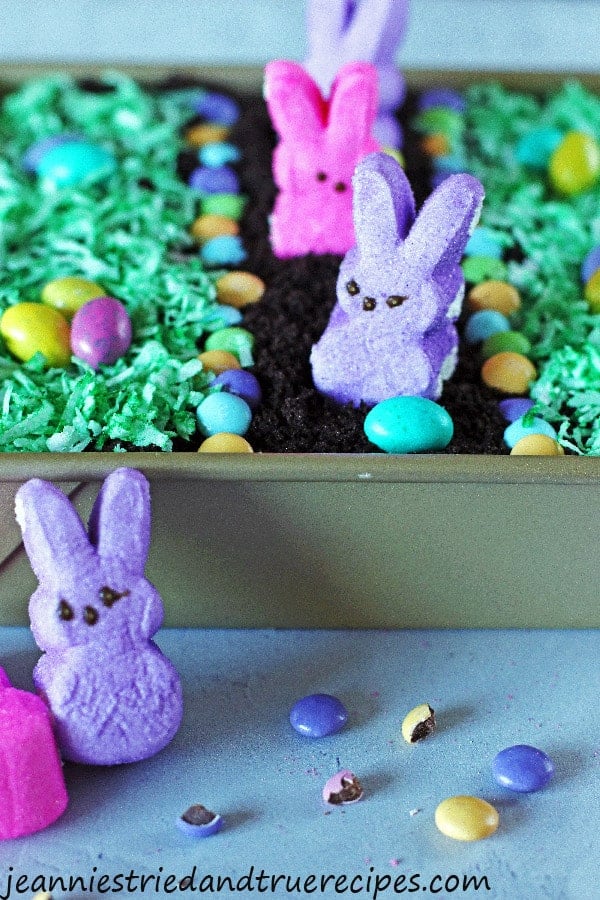
To make the green grass, mix some shredded coconut and green food coloring. When I make it, I use a small amount of shredded coconut (about one cup) and about 4-5 drops of food coloring. Mix the two ingredients together until you get a nice shade of green. You might need to add more food coloring until you get the color you like.
Before adding the green coconut to the cake, I would suggest to make an edging for the road with some colorful M&M candy. Then add in the coconut. This helps to keep the coconut off the road.
Add some colorful bunny Peeps and candy eggs and you have yourself one adorable and delicious Easter dessert!
FAQ’s
Can I make this ahead of time? Yes, this dessert can be made the night before or earlier in the day. Just make sure to keep it in your refrigerator.
When should I decorate the cake? You can decorate the dirt cake right along with making the cake and keep it in your refrigerator. You could also decorate it just before serving it.
How do I store the dirt cake? Keep the dessert in your refrigerator before and after serving it.
Can I make this dessert into individual servings? Yes, another fun idea with this dessert is to make them in cups. You could use a fun set of cups that you have or disposable cups. Just add a little of the dirt cake to each cup and decorate!
Can I use different flavored pudding? Of course! Use what you prefer. If you love chocolate, use chocolate. We like the mix of vanilla pudding with the Oreos so we make it that way.
Recipe Tips:
- It helps to get the decorations ready ahead of time. If you are making the skeleton for Halloween, you need to do that ahead of time since it takes about 30 minutes to set.
- When making the candy skeleton, put a small amount of the melted white chocolate chips on your spoon for the smaller sections. This helps to get the melted white chocolate into the small areas on the candy mold.
- Use a blender to crush up the cookies into crumbs for best results. If you don’t have a blender, then place the cookies into a large sealed bag and roll over the cookies with a rolling pin.
- Make sure to place any leftovers in the refrigerator for up to 3-4 days.
This dirt cake recipe is a great treat for Halloween and Easter. Both kids and adults will love this dessert! It makes for a great dessert for parties or small gatherings.
Looking for more holiday desserts?
Here are a few more of our favorite holiday desserts to make. They are fun and easy to make. Try our Rice Krispie Easter Eggs, Spider Cookies, Pilgrim Hat Cookies and Rice Krispie Treat Trees.
If you make this recipe, I would love to hear from you. I would greatly appreciate it if you would comment and rate it below in the comment section. Thank you!
Are you on Pinterest or Instagram? Follow me for all of my recipes!
Dirt Cake
Ingredients
- 2 packages vanilla instant pudding (3.4 ounce boxes)
- 4 cups cold milk
- 1 8 oz Cool Whip container (thawed)
- 1 package chocolate sandwich cookies like Oreo's, crushed (15 ounce package)
Decoration suggestions for Halloween Dirt Cake
- candy pumpkins
- square or rectangular cookies for tombstones
To make candy skeleton
- ½ cup white chocolate chips
Decoration suggestions for Easter Dirt Cake
- Peeps (bunnies work great)
- candy eggs (I used M&M's)
- M&M candy
- 1 cup shredded coconut
- green food coloring
Instructions
- In a large bowl, combine the vanilla instant pudding and cold milk. Whisk for two minutes. Let it sit for five minutes.
- While pudding sets, crush up the cookies in a blender until they are very fine crumbs. Set them aside.
- Add the thawed Cool Whip to the pudding and gently combine ingredients.
- Scoop the pudding mixture into a 13×9 pan (or similar size pan) and spread out evenly.
- Sprinkle the crushed cookies over the pudding.
- Decorate the cake. Just place everything gently on top of the dirt cake.
- Keep chilled in the refrigerator until you will be serving it.
To Make the Skeleton
- Place white chocolate chips in a microwave safe bowl. Place them in the microwave and heat them on high for 30 seconds. Stir and if needed heat for additional 15 second increments, stirring after each one until the white chocolate is melted and creamy.
- Using a spoon, carefully drizzle the melted white chocolate into a skeleton candy mold. ( I have a link to the one I used in my written post above.)
- Once you have all the sections of the candy mold filled, place it in your refrigerator to set, about 30 minutes. When it is fully set, the candy will pop out easily.
- Place the skeleton pieces gently on the dirt cake by laying them down on top of the cake or having them stick out of the "dirt".
To Make the Green Grass:
- Combine the shredded coconut and 4-5 drops of green food coloring in a bowl. Mix together with a spoon until all the coconut is green. Add more food coloring if needed.
Notes
- It helps to get the decorations ready ahead of time. If you are making the skeleton for Halloween, you need to do that ahead of time since it takes about 30 minutes to set.
- When making the candy skeleton, put a small amount of the melted white chocolate chips on your spoon for the smaller sections. This helps to get the melted white chocolate into the small areas on the candy mold.
- Use a blender to crush up the cookies into crumbs for best results. If you don’t have a blender, then place the cookies into a large sealed bag and roll over the cookies with a rolling pin.
- Make sure to place any leftovers in the refrigerator for up to 3-4 days.
Nutrition information is approximate and is automatically calculated, so should only be used as a guide.
Update Note: This recipe was originally posted in 2018, but was published again in 2021 to include updated step by step directions and new photos.


This was the easiest Halloween party treat to make. Have you ever tried this with chocolate pudding? My daughter just loves her chocolate and I was wondering if it would be too much chocolate with the Oreos. Thanks.
HI Kimberly!
I am so glad you liked this recipe. I never have tried it with chocolate. I think if your daughter loves chocolate, that might be a great idea to try. Let me know if you do and how she likes it.
Thanks!
Jeannie
It’s delicious with chocolate, that’s the way we always make it!
Dodie,
I am a chocolate lover and would love to try it that way!
Jeannie
Simple to make yet delicious to eat. Have you ever used a food processor to make the crumbs? Crushing up the Oreos was a little too much for my arthritis.
HI Patricia,
I have never used a food processor to make the crumbs but that would be a great idea to get the job done!
Jeannie
Just made for my halloween potluck…the slap chopper worked really well on crushing oreos if any of you have one and use it to chop vefetables.
Ive had w chocolate-super chocolately yummy! (One had canned cherry pie filling and was black forest style!)
Hi Amy,
Thanks for the tip of using the slap chopper for the oreos! And those two other variations sound delicious! Happy Halloween!
Jeannie
Thank you for this simple recipe! I made a vegan gluten free version with coconut pudding and chocolate cookies! I cut out and painted my graveyard decorations to go on top! I love how versatile this recipe is!!
Hi Krystal,
That is a great idea to make it gluten free. Thanks for letting me know how you liked it and sharing your ideas. Happy to hear you love the recipe!
Jeannie
Delicious but please check your ingredient list. Cool whip says 2 cups or an 8 oz container. I just read the 8oz container and had to make a second trip to the store. I figured that it was 4 cups based on other recipes…
Hi LeeAnn,
First, I am sorry for any confusion on the recipe ingredients. I use an 8 oz container of cool whip when I make this recipe. I had an 8 oz container of cool whip in my house today so I got it out to measure. One container is about 2.5 cups. I will adjust the recipe to state one Cool Whip container to avoid confusion down the road.
I am glad to hear you liked the recipe! Thanks for your feedback.
Jeannie
I have made this cake twice everyone was very pleased.
Great to hear that!
Jeannie